Gardening can be a wonderful way to express creativity, connect with nature, and brighten your living space. As many of us look for ways to bring greenery indoors or spruce up our gardens, a little creativity can go a long way. This post sprouted from my passion for gardening and my desire to inspire others to see the potential in everyday household items. Why toss out that old shoe or empty tin can when it can transform into a stunning homemade flower pot?
If you’re someone who loves to decorate your home, garden, or simply experiment with creative projects, this guide is perfect for you. Whether you’re an experienced gardener or just starting, you’ll find ideas that are not only easy to make but also sustainable. With these DIY flower pot ideas, you can create unique, upcycled flower containers that are both charming and functional. Get ready to dive into 11 simple and creative gardening projects that will give your plants a cozy home while keeping your environment eco-friendly!
By the end of this article, you’ll have a treasure trove of inspiration to make your own homemade flower pots from items you already have around the house. These projects are budget-friendly and can add a personal touch to your indoor and outdoor spaces. Let’s get planting and let our creativity bloom!
Key Takeaways
– Discover 11 unique homemade flower pot ideas using everyday items like tin cans, teacups, and wine bottles.
– Learn how to turn old shoes and glass jars into charming upcycled flower containers.
– Explore practical indoor gardening tips that make use of recycled materials for a sustainable approach to gardening.
– Access creative gardening projects that are fun, easy, and perfect for all skill levels.
– Find inspiration to repurpose items around the house, turning waste into beautiful decor while nurturing your plants.
1. Tin Can Planters
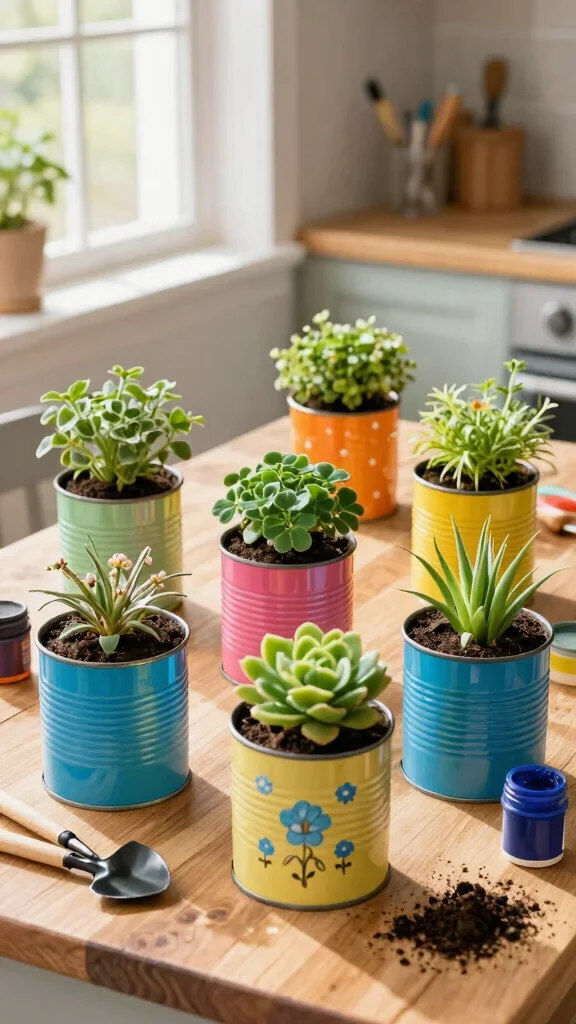
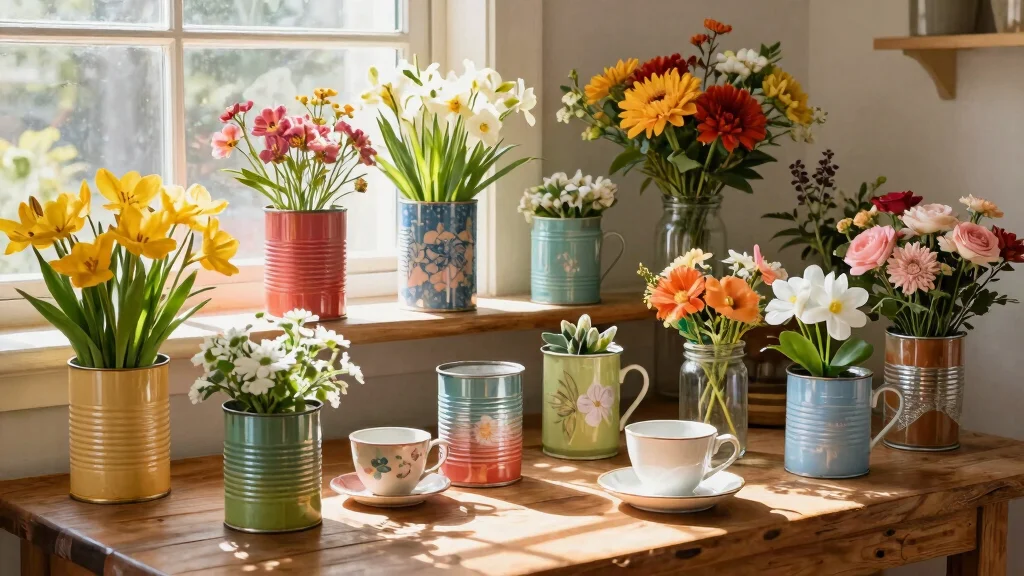
Looking for a creative way to upcycle those empty tin cans? Transforming them into charming flower pots is a simple and fun project that adds a touch of personality to your home. With a splash of paint or some colorful paper, these cans become delightful homes for small plants and herbs, perfect for your kitchen or patio. The shiny surface of the tin adds a rustic flair to any space, whether you choose a metallic look or a bright, playful design.
To start, clean your cans and remove any labels. Let your creativity shine by decorating them as you wish. Don’t forget to punch holes in the bottom for drainage to keep your plants healthy. These planters are not just practical; they also make for a fun family activity!
Key steps to create your tin can planters:
– Clean and dry your tin cans thoroughly.
– Decorate them with paint or decorative paper.
– Punch holes at the bottom for drainage.
– Fill with potting soil and plant your flowers or herbs.
– Use various sizes for an eye-catching tiered display.
This project allows you to customize your planters while giving a second life to items you already have at home!
Fun fact: Upcycling tin cans into homemade flower pots can keep 1 can out of the landfill per project. A splash of paint or paper transforms metal into cheerful planters for herbs and small flowers. It’s quick, practical, and totally doable for beginners.
2. Teacup Flower Pots
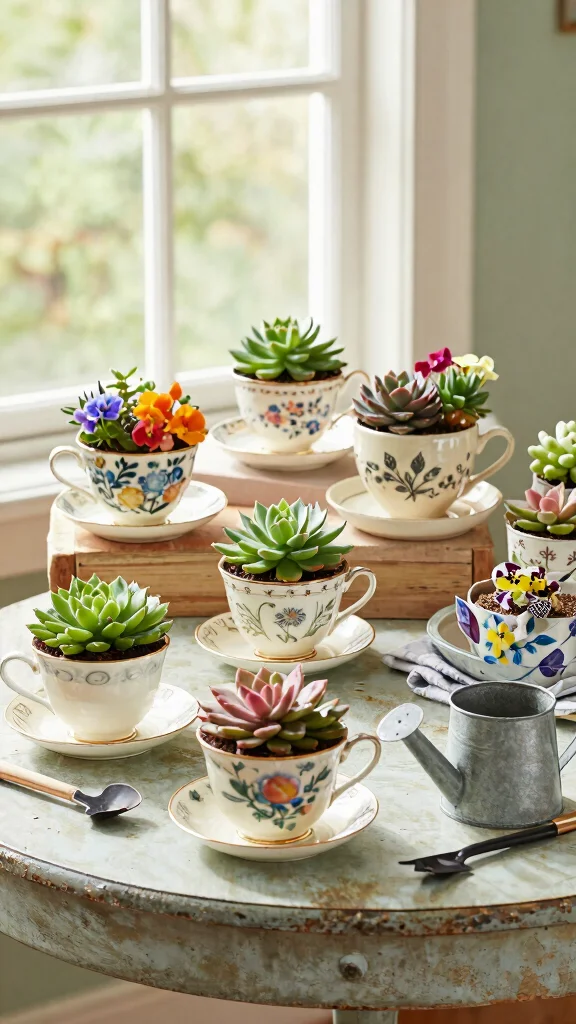
Turn those mismatched teacups into charming flower pots that brighten up your space! These delightful containers are perfect for small plants like succulents or herbs, adding a touch of elegance to your indoor garden. Each teacup can showcase your unique style with its floral patterns and vintage designs, making them perfect for display.
Start by adding a layer of small stones at the bottom for drainage before filling the cup with potting soil. Once your plants are nestled in, they will thrive in these adorable vessels. Group several teacups together for a whimsical centerpiece on your dining table or windowsill.
Here’s how to create your teacup flower pots:
– Place small stones at the bottom for proper drainage.
– Fill with potting soil, leaving room for your plant.
– Plant your chosen flower or succulent and water lightly.
– Use saucers underneath to catch excess water.
Teacup flower pots are not only beautiful but also serve as great conversation starters in your home!
How To Choose The Right Materials for Homemade Flower Pots
Choosing the right materials for your homemade flower pots can enhance your gardening experience. Here’s what you should consider when selecting materials from items you already have at home.
1. Availability
First, look around your home for items you can repurpose. You might find old containers, bottles, or jars. Check your kitchen, garage, and even your recycling bin. The more accessible the materials, the easier your DIY project will be.
2. Size
Size matters when choosing a container for your plants. Ensure the container is large enough for the plant’s root system. A small container may limit growth, while a large one can be too spacious, leading to overwatering. A good rule of thumb is to select a container that is at least twice as deep as the plant’s root ball.
3. Drainage
Proper drainage is crucial for healthy plants. Check if your chosen container has holes at the bottom to prevent water from accumulating. If not, you can create drainage holes using a drill or a sharp tool. If you are using a solid container, consider adding gravel at the bottom to improve drainage.
4. Material Type
Different materials hold moisture differently. For example, metal containers can heat up quickly, which might stress the roots. Clay pots are great for air circulation but can dry out fast. Plastic containers retain moisture, making them suitable for plants that prefer damp soil. Choose a material based on the needs of your plants.
5. Aesthetic Appeal
Think about how your homemade flower pots will look in your space. You can paint or decorate them to match your home’s style. A colorful tin can or a vintage teacup can add personality to your indoor garden. Don’t hesitate to get creative!
6. Safety
Make sure the materials you choose are safe for plants. Avoid containers that have been treated with harmful chemicals or those that may leach toxins. When in doubt, opt for food-safe materials and wash them thoroughly before use.
Pro Tip: Before starting your project, sketch a quick plan. This will help you visualize your flower pot designs and ensure you have all the necessary materials. Happy gardening!
3. Wine Bottle Planters
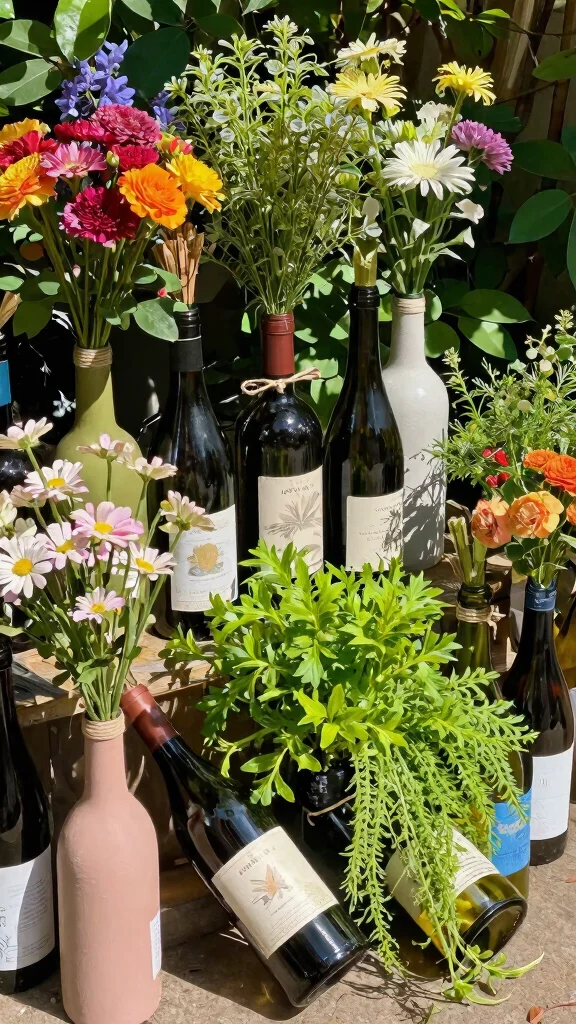
Why not give those empty wine bottles a new purpose as stunning planters? This creative project adds a vertical element to your garden or patio, making it a unique addition to your green space. Wine bottles can be cut or used whole, creating eye-catching containers for your favorite plants.
Fill them with potting soil and place them upright or on their sides for a playful touch. Decorate with twine or paint for a personalized flair, ensuring your planters stand out. This project is a fun way to recycle while enhancing your garden’s beauty.
To get started with your wine bottle planters:
– If cutting, carefully slice the bottle and smooth the edges.
– Fill with potting soil or place plants directly into the bottle.
– Personalize your bottles with paint or decorations.
Wine bottle planters not only add visual interest but also help you reuse materials creatively!
4. Old Shoe Flower Pots
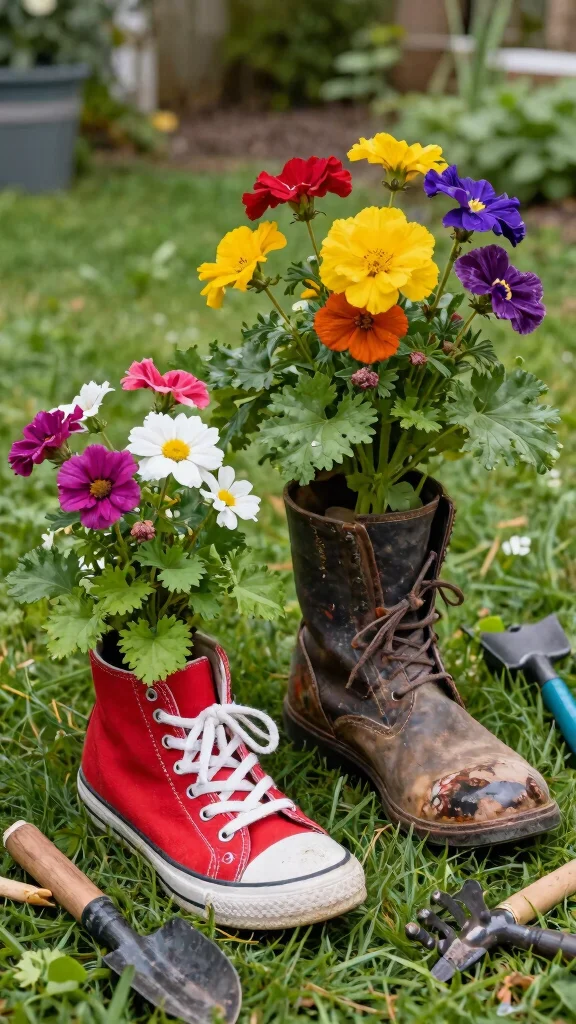
Give your old shoes a quirky new life by turning them into flower pots! This fun and unique project adds character to your indoor gardening. Whether you use vintage boots or colorful sneakers, the possibilities are endless. Just be sure to select shoes that are no longer wearable for this playful creation.
Add drainage holes if needed, and fill them with potting soil or moss for a whimsical look. This project not only repurposes old footwear but also creates striking conversation pieces for your home.
Steps to create your old shoe flower pots:
– Clean your shoes and remove any insoles.
– Punch holes in the bottom for drainage if necessary.
– Fill with soil and plant your flowers or succulents.
– Pair mismatched shoes together for an eclectic display.
Old shoe flower pots are a fun way to express your creativity while giving new life to forgotten items!
5. Glass Jar Terrariums
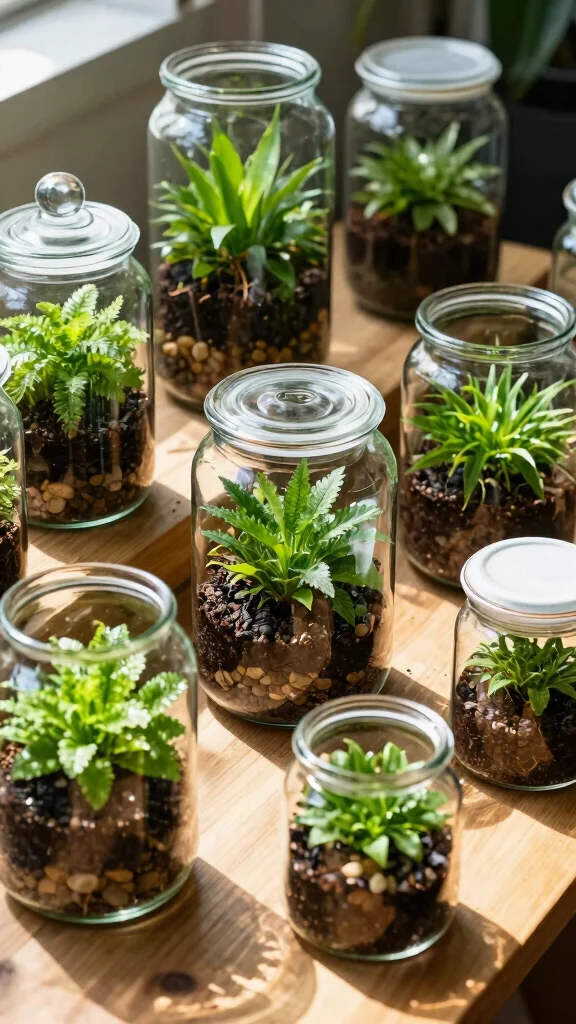
Craft enchanting glass jar terrariums using mason jars or any spare glass containers you have! These charming mini-gardens are easy to assemble and require minimal maintenance, making them perfect for busy plant lovers. Layer potting soil, pebbles, and activated charcoal to create a thriving environment for small plants like ferns or air plants.
The glass jar allows you to observe the growth, adding a delightful touch to any shelf or table. This project beautifies your home while providing insight into plant ecosystems.
Here’s how to create your glass jar terrariums:
– Start with a layer of pebbles for drainage.
– Add a thin layer of activated charcoal.
– Fill with potting soil and plant your chosen greenery.
Glass jar terrariums are a wonderful way to bring a bit of nature indoors!
Fun fact: a simple glass jar terrarium can become a thriving mini-garden with just 2–3 inches of soil, a pebble drainage layer, and indirect light. These tiny ecosystems let you watch roots and growth unfold right on your shelf.
6. Eggshell Seed Starters
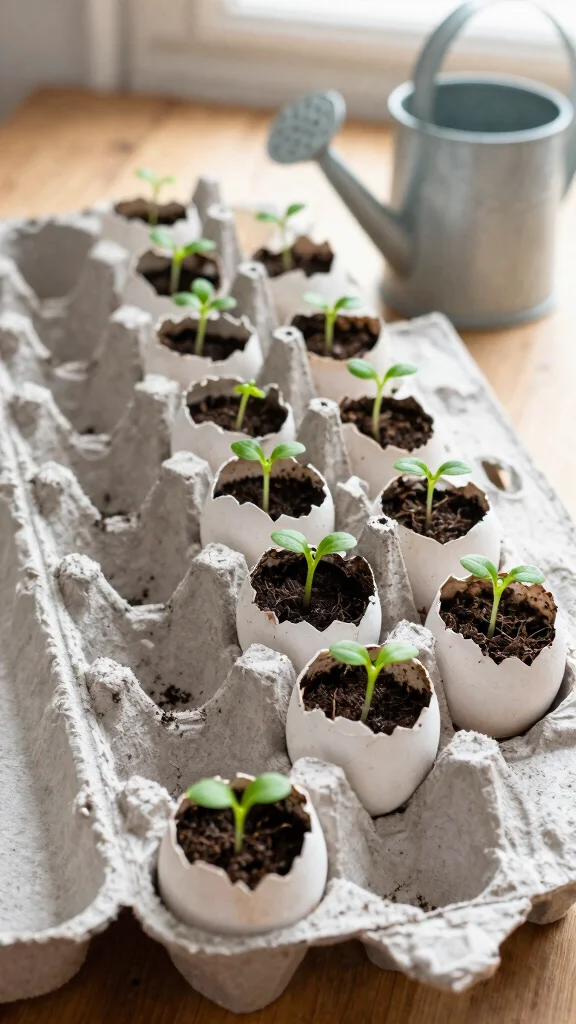
Start your seeds in a fun and eco-friendly way using eggshells! This project is perfect for those looking to grow herbs or small flowers from seed. The fragile shells act as biodegradable pots, letting your seedlings grow strong and healthy.
Simply crack an egg, save the halves, and fill them with potting soil. When it’s time to transplant, you can plant the entire shell into the ground, enriching the soil as it decomposes. This method is sustainable and offers a charming, rustic appeal.
Steps to use eggshells for seed starters:
– Clean the eggshells and let them dry.
– Fill each half with potting soil.
– Plant your seeds and water lightly.
Eggshell seed starters are a creative way to engage children in gardening while promoting sustainability!
7. Colander Planters
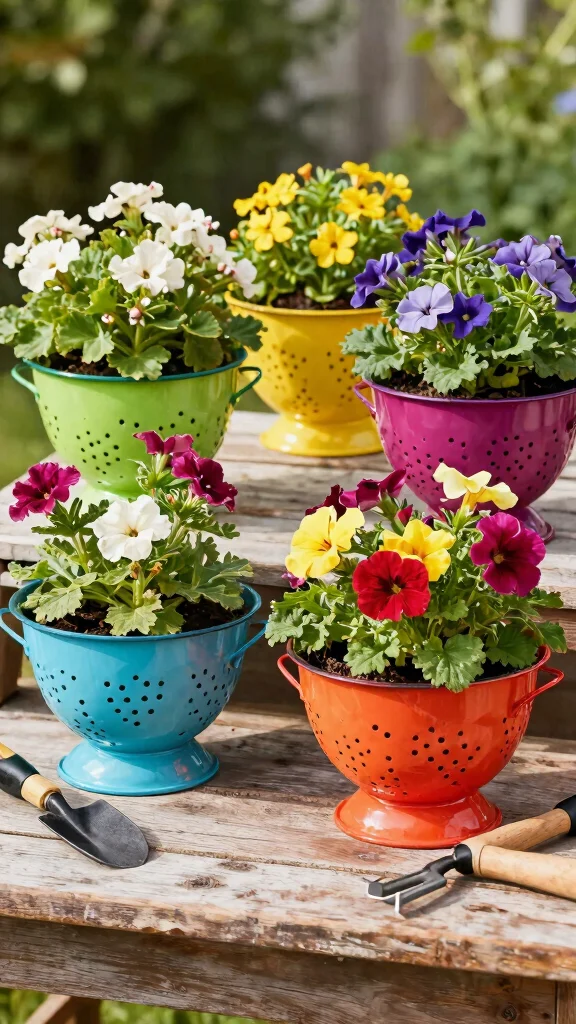
Transform your old colanders into delightful flower pots that are both functional and stylish! The holes in colanders provide excellent drainage, making them ideal for herbs or flowers. You can leave them as they are for a vintage look or spray paint them in vibrant colors to match your decor.
Place your colander planters on a kitchen windowsill or porch to add a cheerful touch. Using colanders as planters adds a unique twist to your gardening style!
To create your colander planters:
– Clean the colander thoroughly.
– Fill with potting soil and plant your flowers or herbs.
Colander planters are a fun way to keep your plants thriving while showcasing your personality!
8. Plastic Bottle Planters
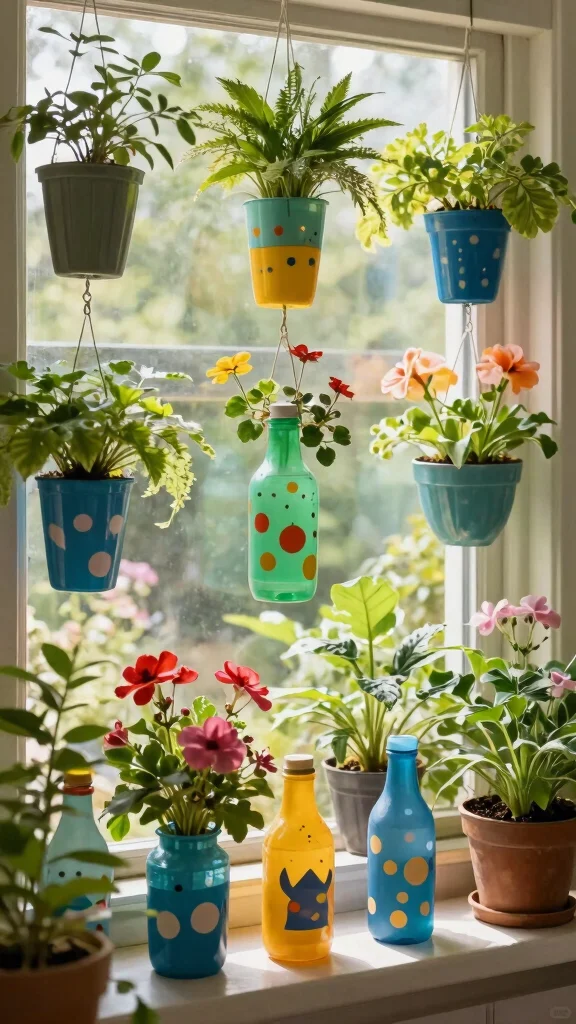
Revive your plastic bottles by turning them into flower pots! This eco-friendly project is perfect for larger plants or creating vertical gardens. With a bit of cutting and painting, you can transform a simple bottle into an eye-catching planter.
Don’t forget to create drainage holes to ensure your plants stay healthy. Hang them on your porch or set them on a sunny windowsill for a splash of greenery. It’s a wonderful way to promote recycling while enhancing your space.
Here’s how to make your plastic bottle planters:
– Cut the bottle to your desired height.
– Create drainage holes in the bottom.
– Paint the exterior if desired, and fill with soil and plants.
Plastic bottle planters are not only practical; they also help reduce waste while beautifying your space!
Turn everyday plastic bottle planters into thriving homes for your plants—because a tiny swap today grows big greener moments tomorrow. DIY upcycling is easier than you think, and your homemade flower pots can transform any porch into a leafy retreat.
9. Basket Planters
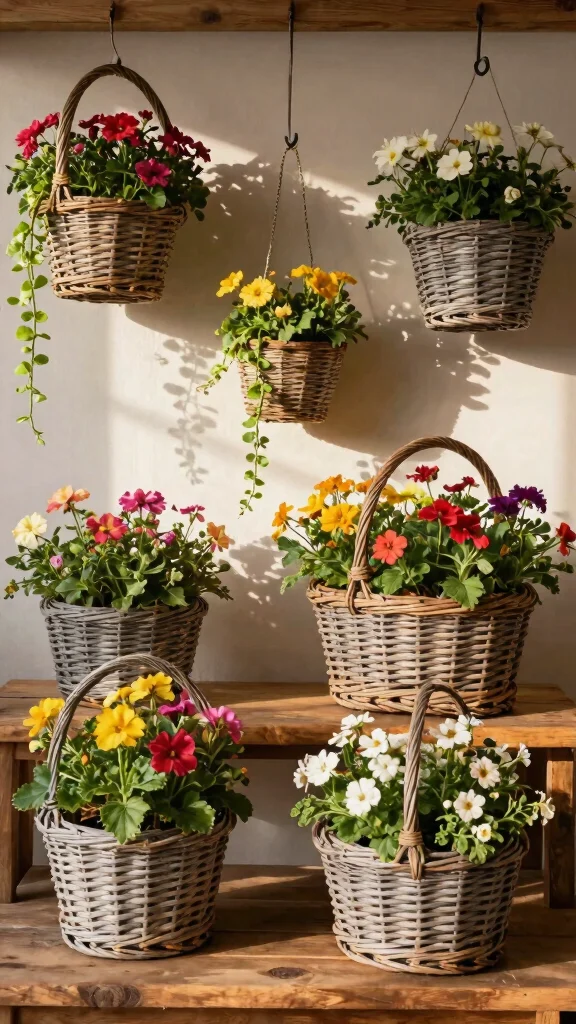
Old baskets can be transformed into fantastic flower pots, adding rustic charm to your home. They are perfect for larger plants or arrangements of smaller flowers. By lining the inside of the basket with a plastic liner, you can retain moisture and protect it from soil stains.
This ensures your plants have enough room to thrive while showcasing beautiful blooms. Pair your baskets with trailing vines for a stunning effect!
Steps to create your basket planters:
– Line the basket with a plastic liner.
– Fill with potting soil and plant your flowers.
Basket planters serve as lovely accent pieces, making them an easy upgrade for your indoor gardening!
10. Toilet Paper Roll Seed Starters
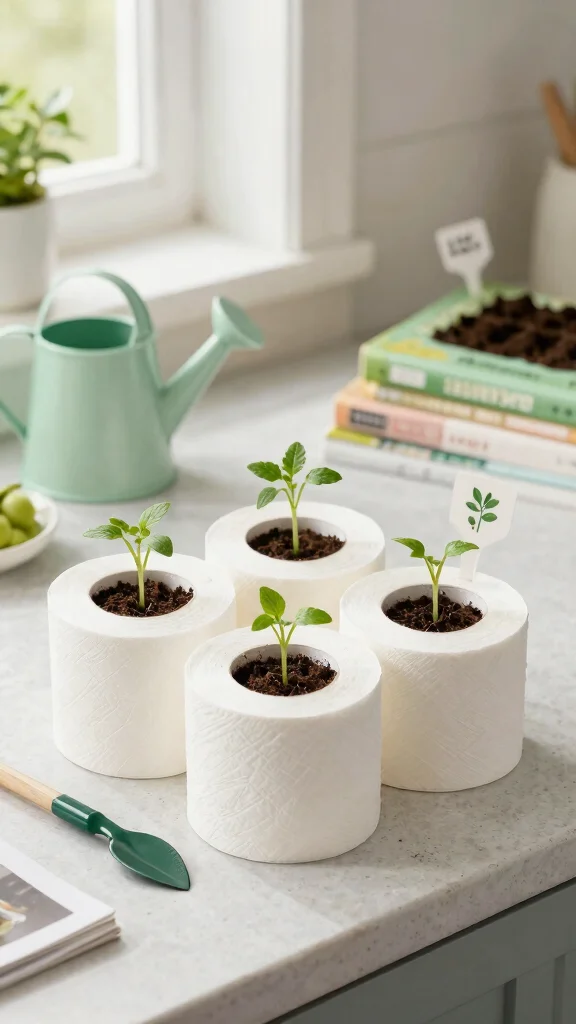
Turn your empty toilet paper rolls into clever seed starters! This simple DIY project is ideal for those who want to grow plants from seeds while being eco-conscious. Just cut the rolls into thirds, fill them with potting soil, and plant your seeds.
When it’s time to transplant, you can plant the entire roll in the garden, allowing it to decompose and enrich the soil. This project is efficient and a fun activity to do with kids!
Here’s how to use toilet paper rolls for seed starters:
– Cut the rolls into thirds.
– Fill each section with potting soil and plant your seeds.
Toilet paper roll seed starters are a creative way to promote recycling while introducing children to the joys of gardening!
11. Cardboard Box Planters
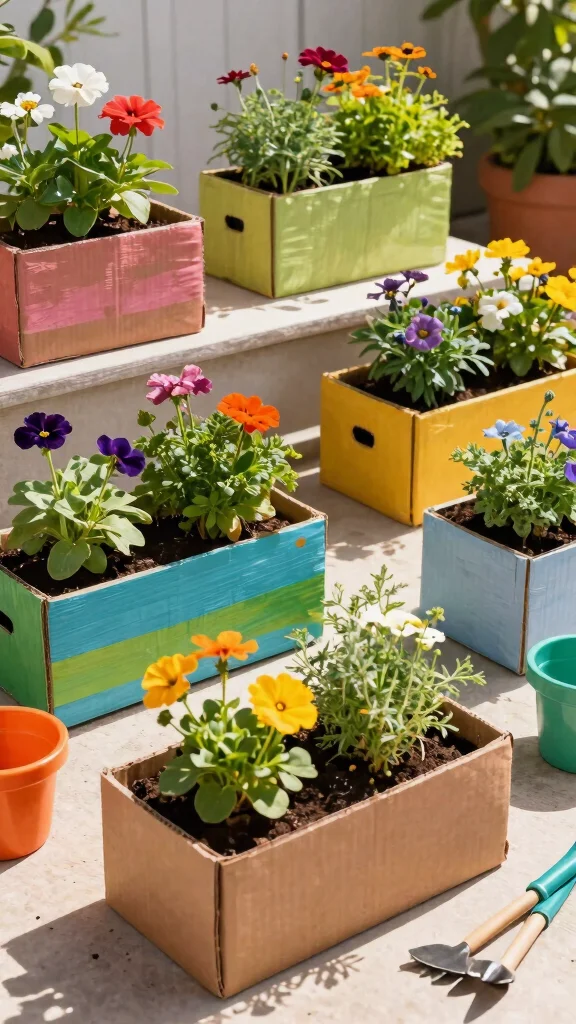
Repurpose old cardboard boxes into unique flower pots! This project allows you to customize your pots to any shape or size you desire. Simply line the inside with plastic to hold the soil and moisture.
You can paint or embellish the outside for a fun design that matches your style. Choose sturdy boxes and keep your plants happy with regular watering. These planters work great for larger flowers or a mix of herbs and flowers for a vibrant display.
Steps to create your cardboard box planters:
– Line the inside with plastic for waterproofing.
– Fill with soil and plant your flowers or herbs.
Cardboard box planters are a fantastic way to reduce waste while creating something beautiful for your home and garden!
Conclusion

Embracing homemade flower pots made from upcycled items encourages creativity and sustainability in your home gardening journey.
With these 11 delightful DIY flower pot ideas, you can transform everyday items into charming planters that enhance your living space. Challenge yourself to think outside the box and turn trash into treasure while contributing to a greener planet. Which idea will you try first?
Note: We aim to provide accurate product links, but some may occasionally expire or become unavailable. If this happens, please search directly on Amazon for the product or a suitable alternative.
This post contains Amazon affiliate links, meaning we may earn a small commission if you purchase through our links, at no extra cost to you.
Frequently Asked Questions
What are some simple DIY flower pot ideas you can make from things around the house to create homemade flower pots?
There are tons of upcycling options you can turn into homemade flower pots. Start with everyday items like teacups, mugs, jars, tin cans, plastic bottles, or wooden crates. Clean and dry them, drill a drainage hole if needed, and line the inside with a simple plastic liner or landscape fabric to protect the pot from soil. Decorate with paint, fabric, or twine, then seal with a non-toxic waterproof sealant to keep moisture out of the container material. Fill with fresh potting mix and plant your favorites. This is a great way to use recycled materials for gardening and showcase upcycled flower containers in your space.
How can I ensure durability and healthy plants when using recycled materials for gardening to create homemade flower pots?
Start by inspecting the item for cracks or old coatings that could leach chemicals. Clean thoroughly and let dry. If the container is metal or wood, apply a non-toxic exterior sealant to prevent rust or rot. Line the inside with a plastic liner or landscape fabric to protect the material and keep soil from staining it. Drill drainage holes or add a drainage layer so excess water can escape. Use a high-quality potting mix and pick plants whose root systems match the pot size. Place in appropriate light and water as needed. With these steps, you’ll have durable homemade flower pots made from recycled materials for gardening.
What are the best indoor gardening tips when using upcycled containers for homemade flower pots?
For indoor setups, choose a bright window spot or use grow lights, group pots to maintain humidity, and put down a tray to catch any leaks. Water mindfully—soil should be moist but not soggy—and ensure each container has proper drainage. Use a moisture meter or simple finger test to gauge when to water. Rotate plants so all sides get light, and keep the potting mix fresh with occasional top-dressing. These indoor gardening tips help your homemade flower pots thrive indoors.
How do I choose the right container for different plants when making DIY flower pot ideas?
Match container size to the plant’s mature size and root depth. Choose pots with drainage holes (or add liners/drainage layers if needed) to prevent soggy roots. Consider the material’s insulation and weight—heavier options are steadier for tall plants, lighter ones are easier to rearrange. For shallow-rooted plants like herbs or shallow succulents, pick shallower containers; for deep-rooted plants, go for deeper pots. This helps you pick the right DIY flower pot ideas for healthy growth.
Are there safety or environmental considerations I should keep in mind when making upcycled flower containers from household items?
Absolutely. Avoid paints or finishes with toxic chemicals. If an item has old paint, check for lead and decide whether to strip it or choose another piece. Thoroughly clean and dry everything before use. Inspect for cracks or sharp edges and sand smooth. Use non-toxic sealants and liners to keep soil from contacting harmful coatings, and ensure good drainage to prevent waterlogging. By minding safety and sustainability, you’ll enjoy eco-friendly upcycled flower containers with a positive environmental impact.
Related Topics
homemade flower pots
upcycled gardening
DIY flower pots
recycled materials
creative plant containers
indoor gardening
budget friendly
easy DIY projects
eco-friendly gardening
beginner friendly
seasonal decor
repurposed items